We should keep on checking the Design Rule Check throughout designing (both in case of schematic and layout) to make sure whether there is any error or not.
To check DRC you can execute Tools –> DRC –> Check Hierarchically or you can press F5.
Once DRC is checked, you can see result in the message window as follows:

Let’s create an error to check what happens in DRC
Create the error in the layout of the designed resistor by changing the width = 5
Now running the DRC would generate 3 errors as follows:
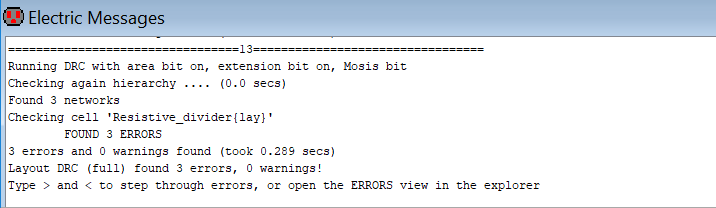
Message window indicates to browse through the errors by pressing the greater-than key, >, to go forward through the errors or the less-than key, < to go backwards through the errors.
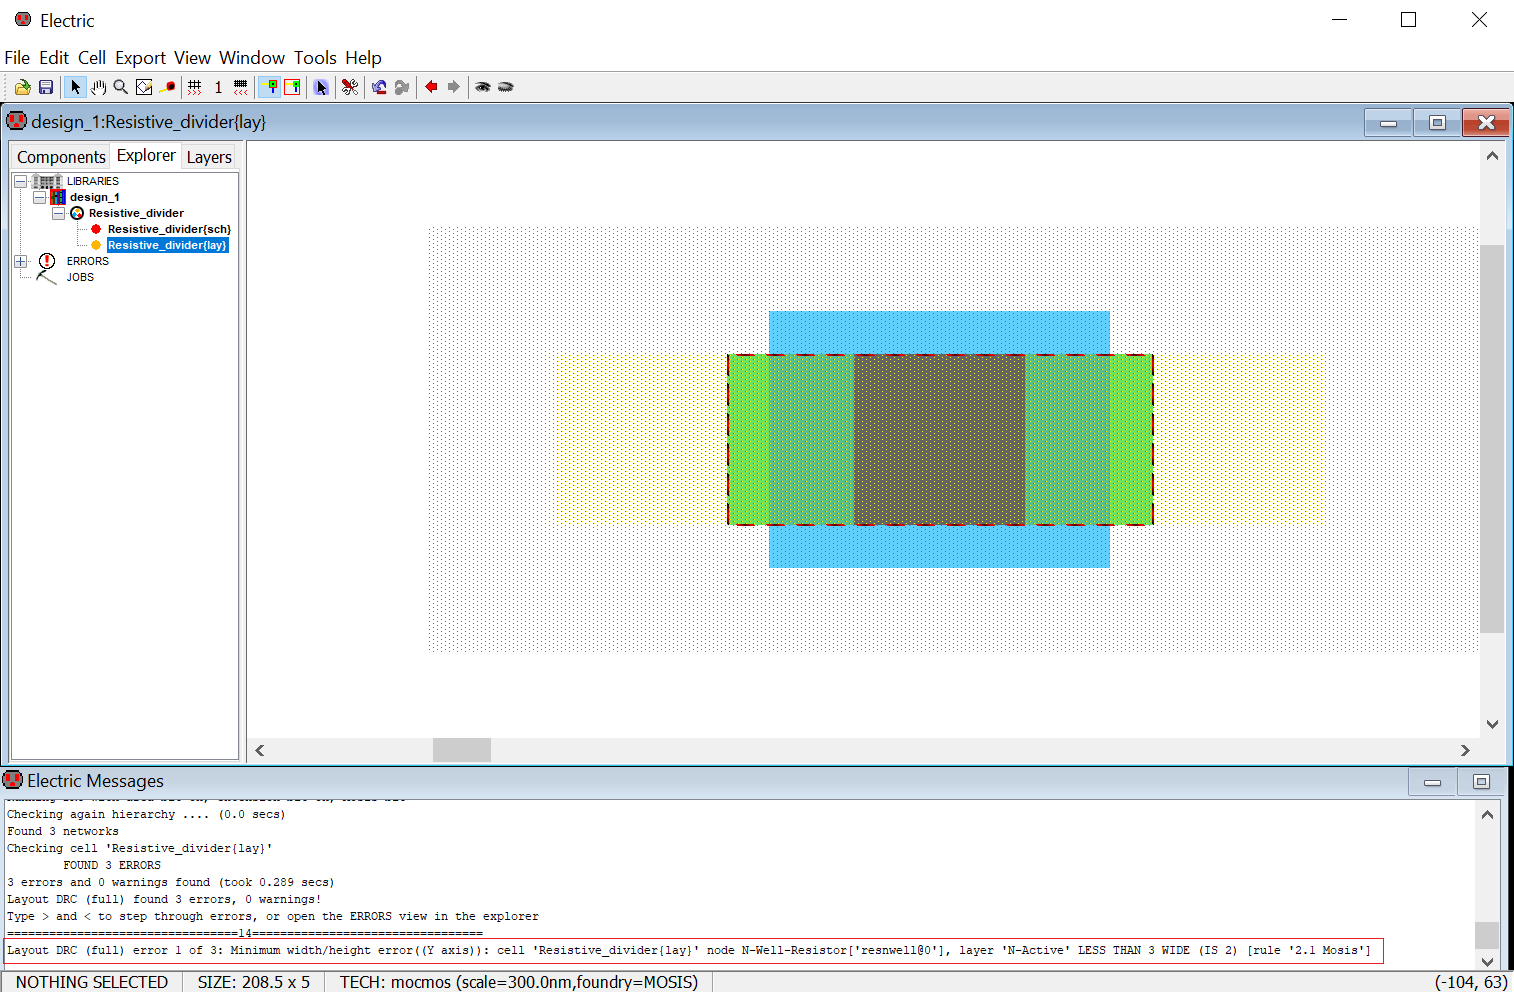
As soon as you would press ‘>’, the screen would indicate the location of the 1st error within a red black dotted rectangle box. After zooming, you can observe the error location as below. The message window would show the description of error which is highlighted within a red rectangle in the following image. You can keep on pressing ‘>’ to check the other errors.
Keep in mind that sometime a single erroneous cause can generate multiple errors. Just in this case, reducing the resistor width to 5 generated MOSIS rule violation at 3 places, so generated 3 errors.
This error was generated intentionally. But while designing, always try to figure out the root-cause of the error. Removing a single design error might rectify multiple DRC errors.
Now you can press Ctrl+Z to undo the change and make the design error free. Or you can go to the properties of the resistor to change its width to 15 again.